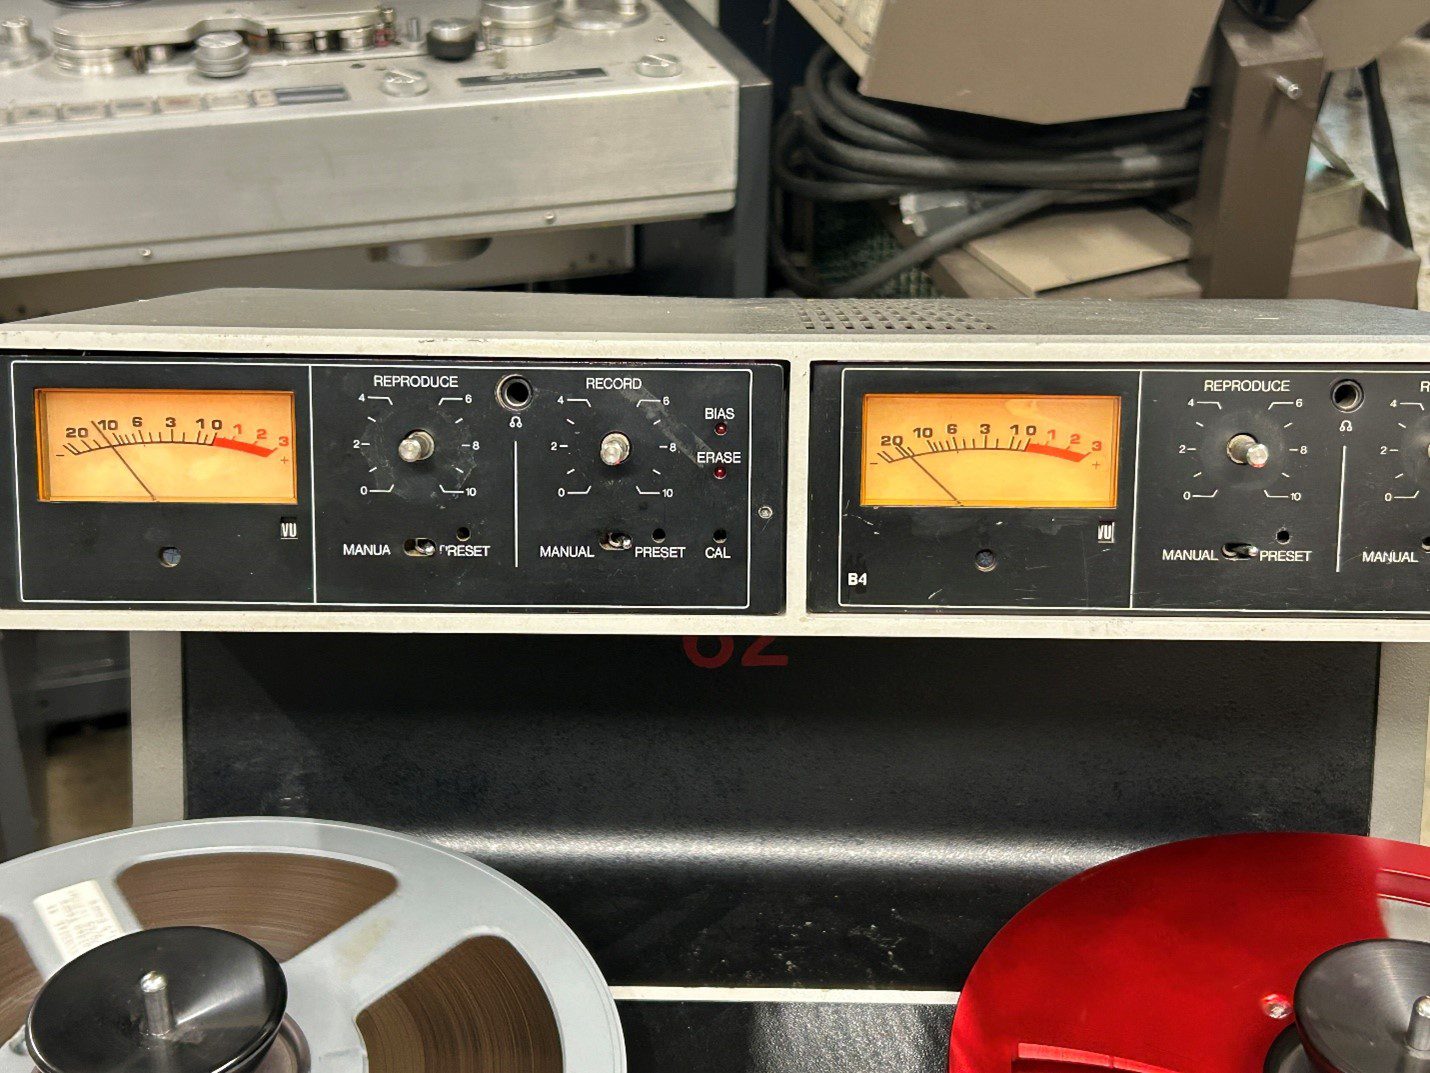
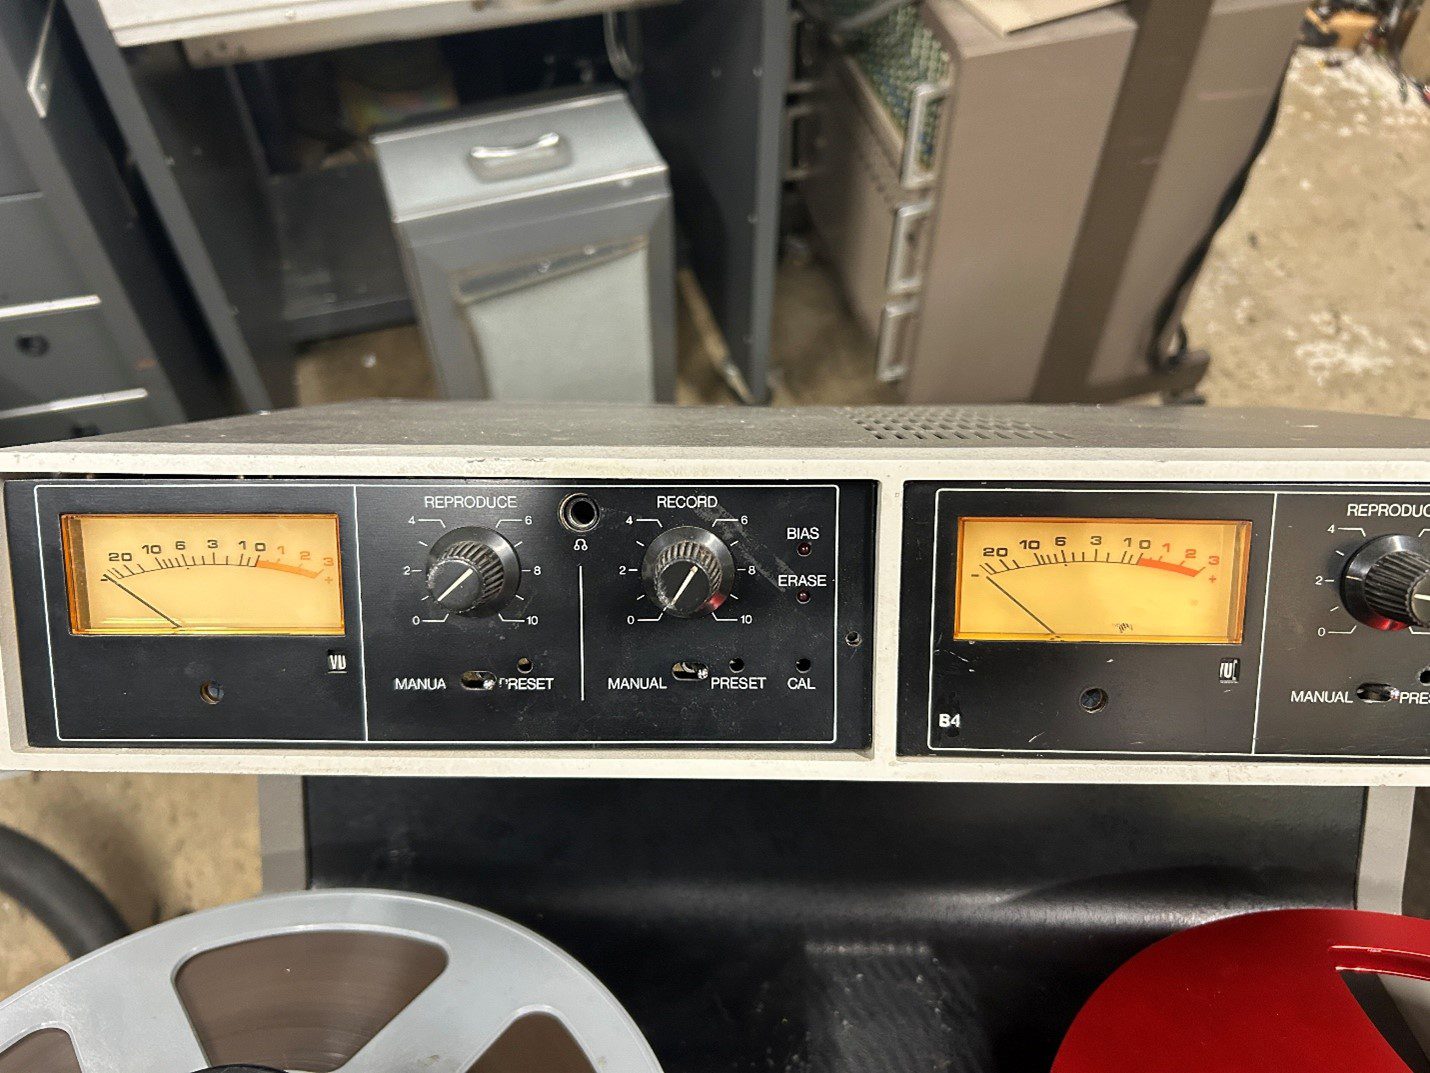
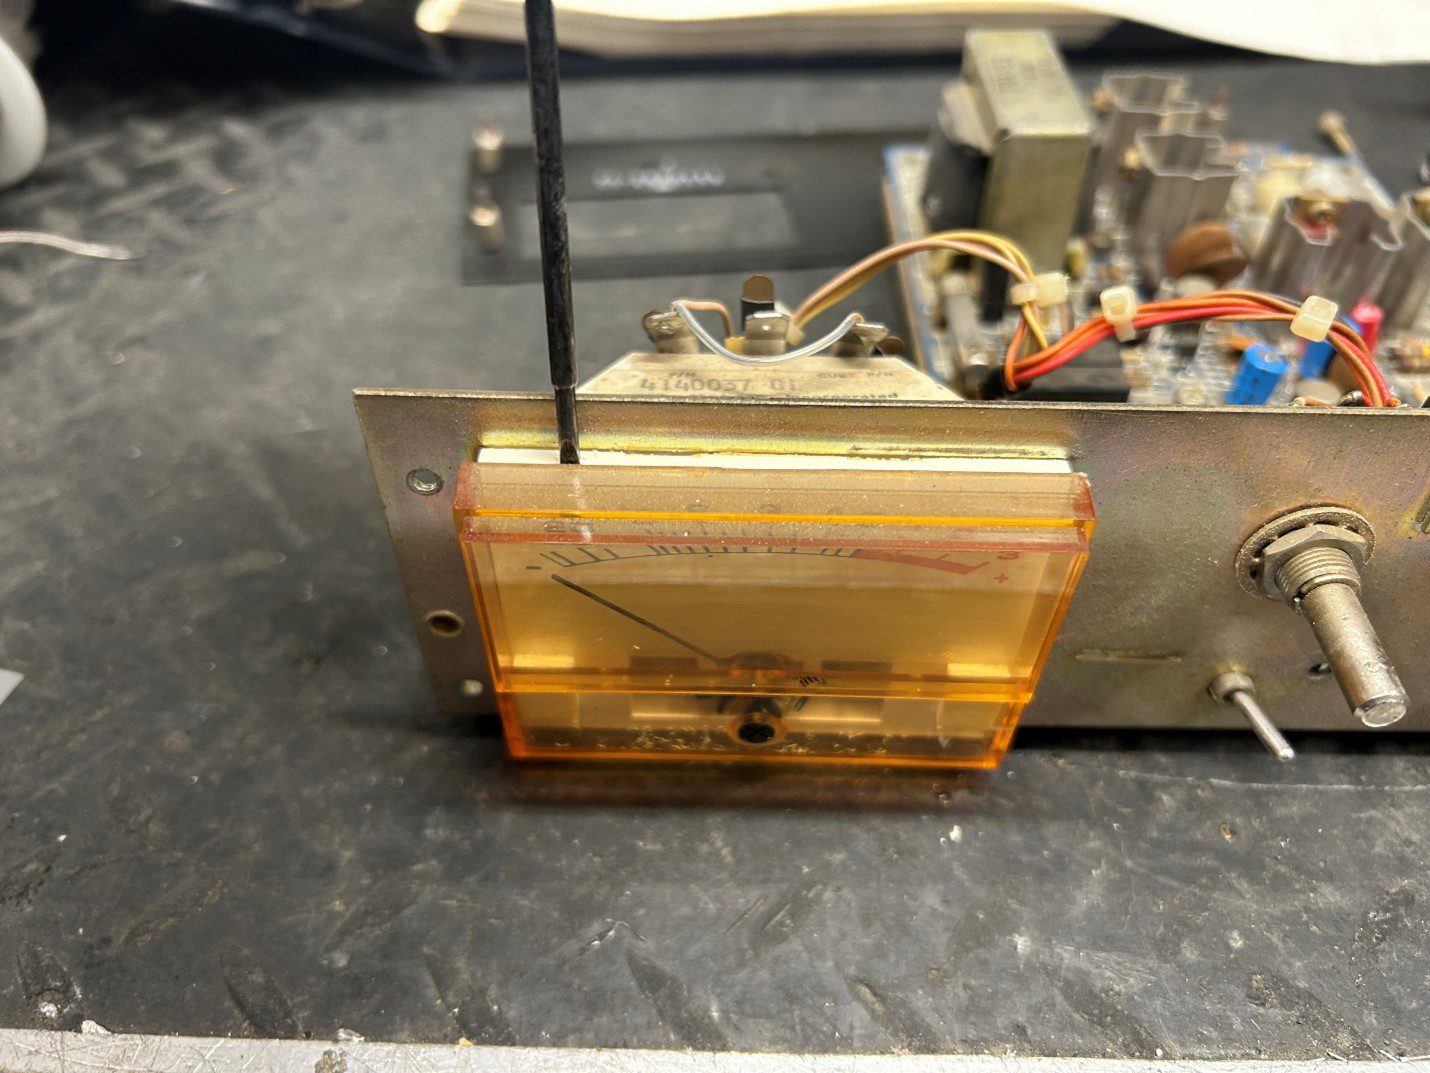
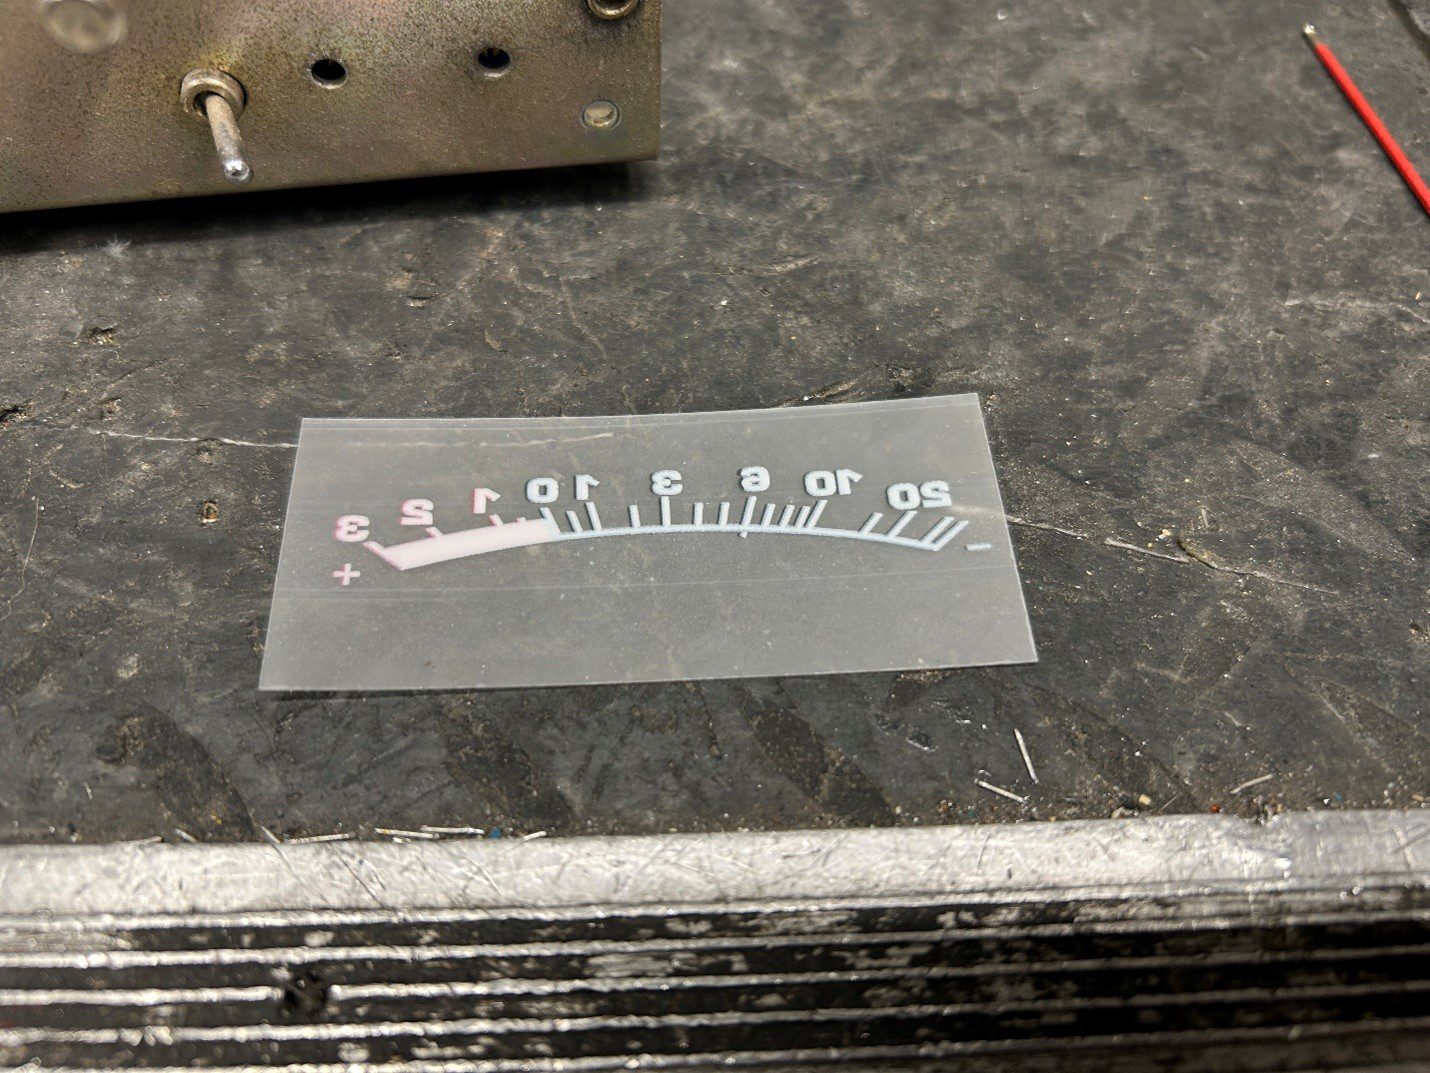
Owners of Ampex ATR 100/102 reel to reel decks have likely had the problem of fading VU meter scales, as the red ink that Ampex used tends to fade when exposed to sunlight for long periods of time, and the ink may also be affected by the VU meter lamps themselves.
Our new VU meter scales/stickers are a quick and easy way to get those VU meters looking like new. Note that the VU meter stickers will not do anything to improve the crazing or fogged up VU meter plastic covers, they will only bring the scale itself looking like new.
Material Required:
- imperial socket set
- imperial Allen driver set
- small spray bottle of water
- small straight blade screwdriver- jeweler’s style
- scissors
- isopropyl alcohol and cotton swabs
- a clean work environment
- clean hands!
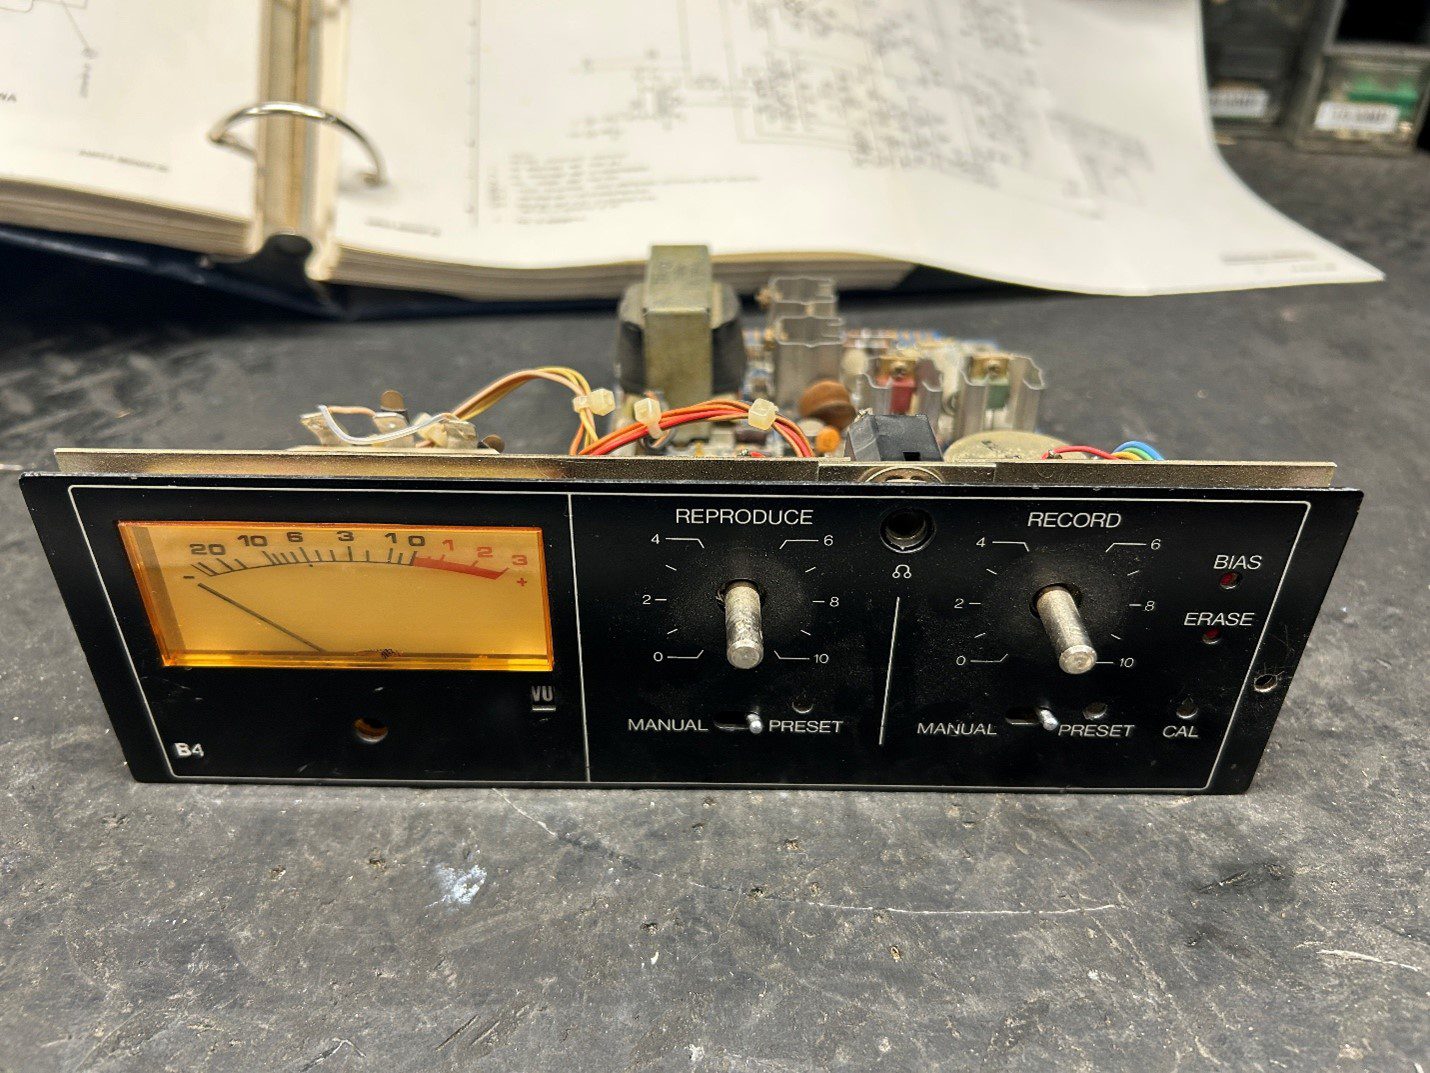
1) Using the Allen driver set, unscrew the right center screw that holds the VU meter panel into the VU meter frame. If you haven’t removed one of these before, the screw that is accessed via the hole in the front panel will not unscrew completely, the front panel holds it in place. About 10 full turns of the screw will loosen it.
2) Pull the VU meter chassis out from the frame. Usually the chassis will come up by pulling on the screws, but if the chassis hasn’t been pulled from the frame in decades, some gentle prying around the edge of the VU meter front panel should be enough to wiggle the PC board out of the edge connector located at the back of the frame. Pull the meter out with the deck power OFF!
3) Place the VU meter assembly on a clean working area, and go wash your hands. You’ll be pulling the VU meter cover off of the meter itself, and any dirt or dust can adhere to the sticker or get into the VU meter assembly, potentially damaging it.
4) Using the Allen driver set, undo the two setscrews from the knobs on the front of the VU meter assembly.
5) Using the nutdriver, remove the four nuts and lockwashers on the four back corners of the front VU meter panel holding it to the chassis.

6) Pull off the plastic VU/Peak indicator from the slide switch on the PC board. It pulls right out of the front of the VU meter assembly.
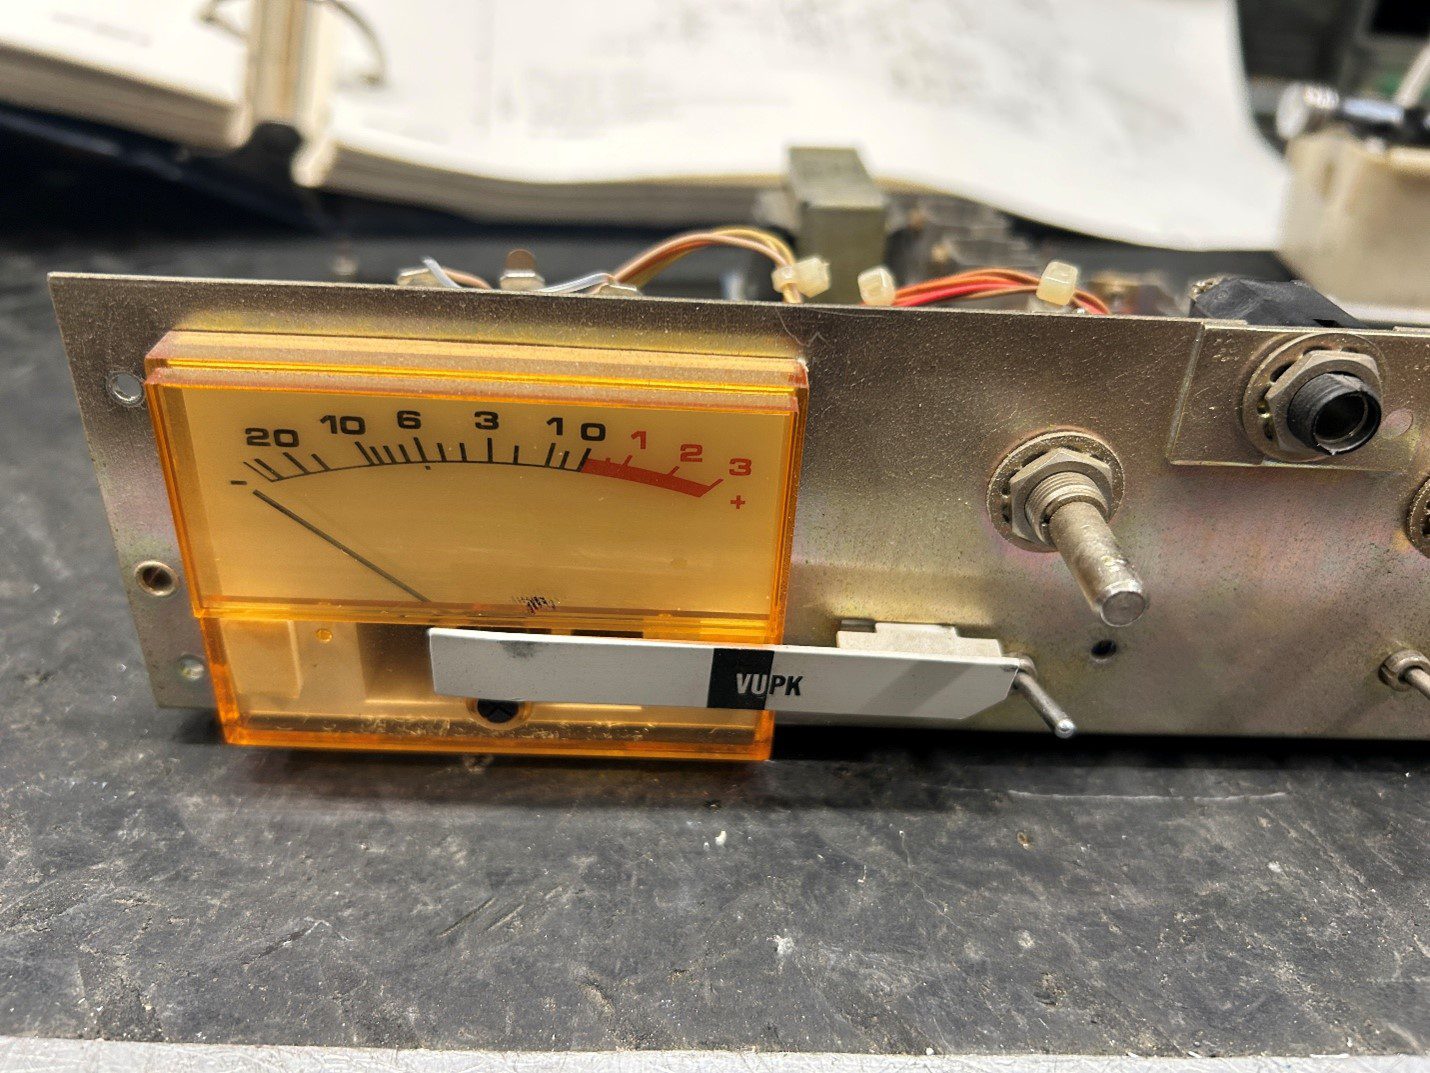
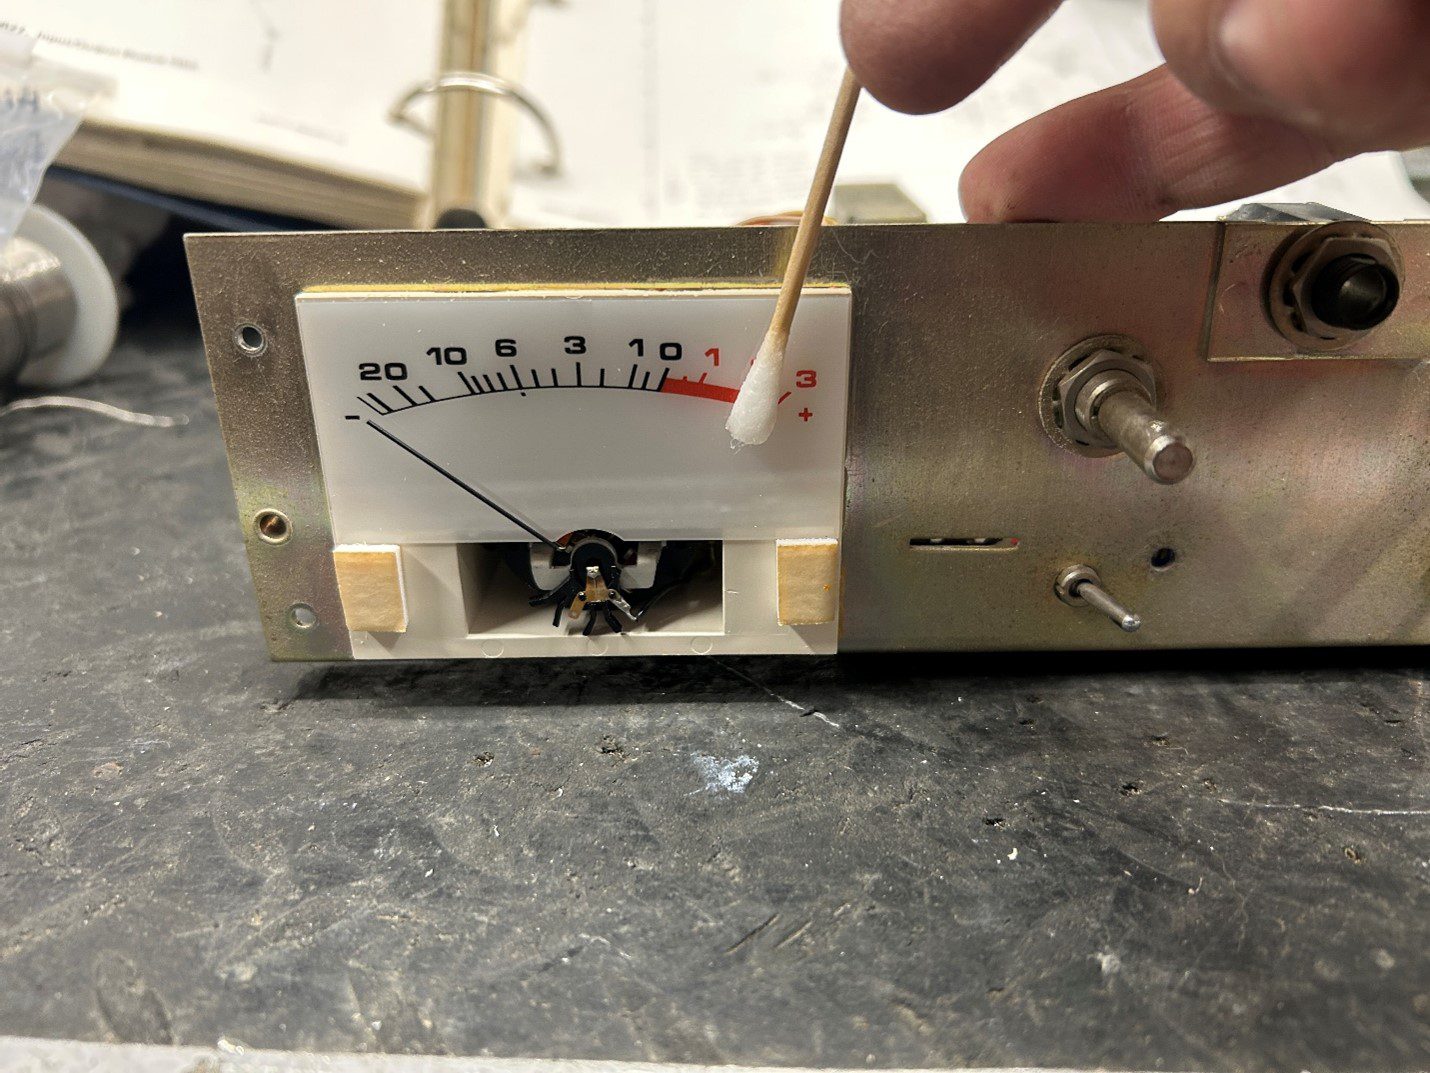
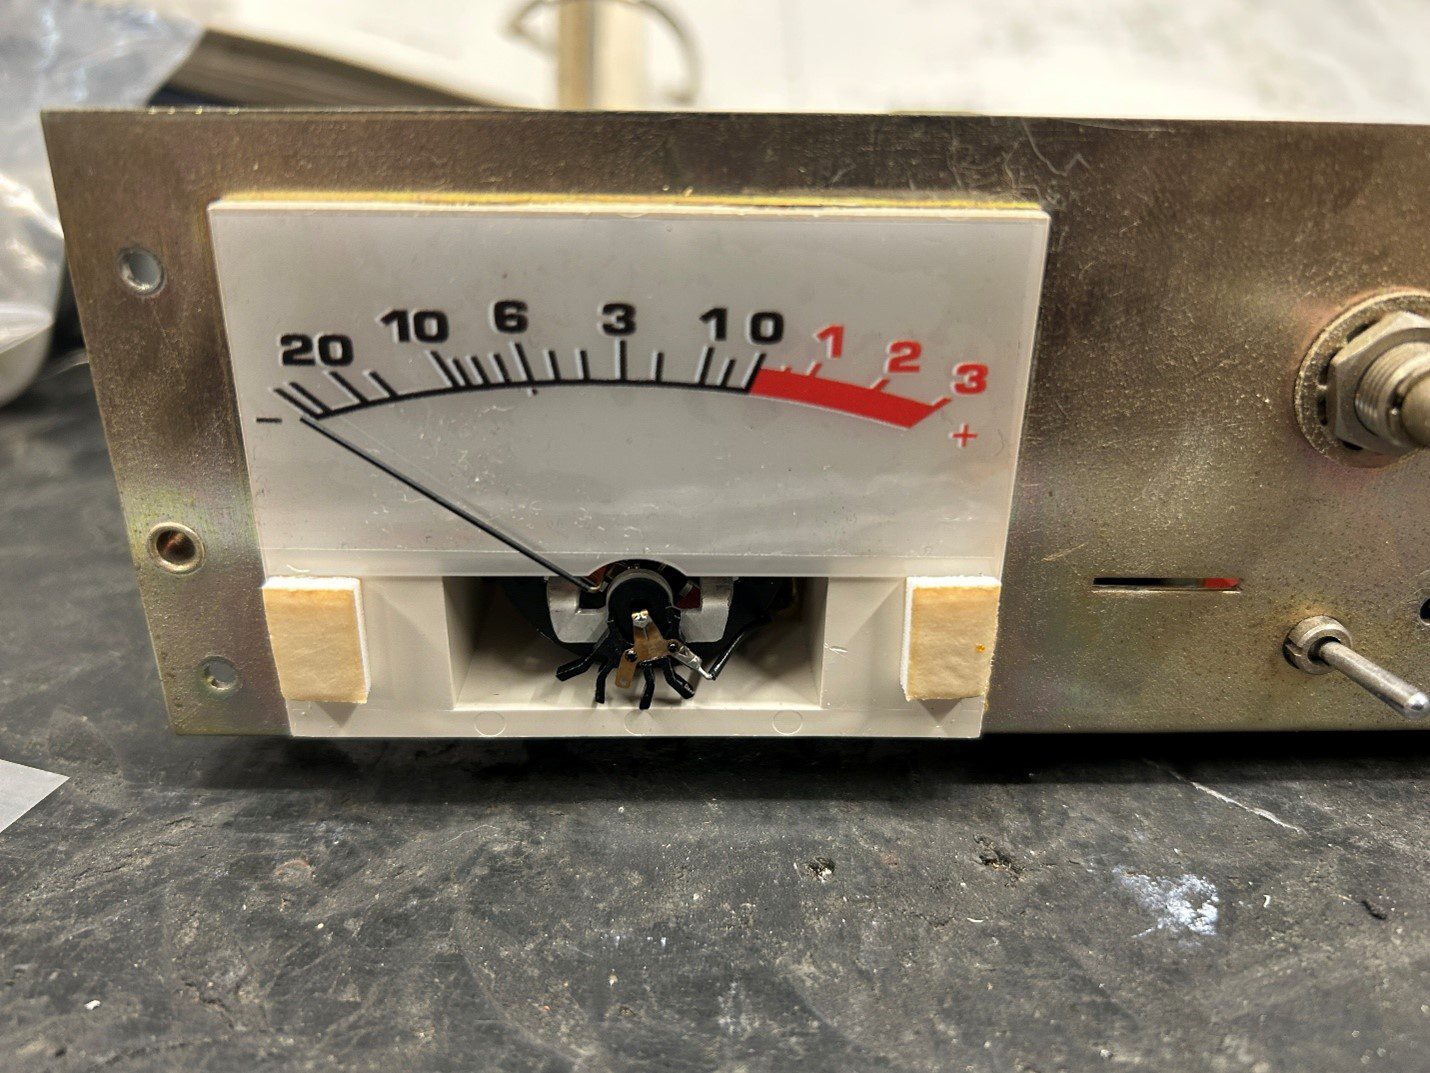
7) Wiggle the front VU meter cover off the front of the meter. It snaps into place, and again, a bit of gentle prying of a small flat blade screwdriver will pop the face off the meter.
8) Be vary careful at this point. The meter needle is VERY fragile, and can bend or snap. Once again, keep your working area clean with the meter cover off. Using isopropyl alcohol and cotton swabs, wipe the existing meter markings off the face of the meter. You should see the ink coming off after several scrubs of the cotton swab cross the face. As the cotton swab gets covered in ink, get a clean swab, and continue the removal of the existing ink.
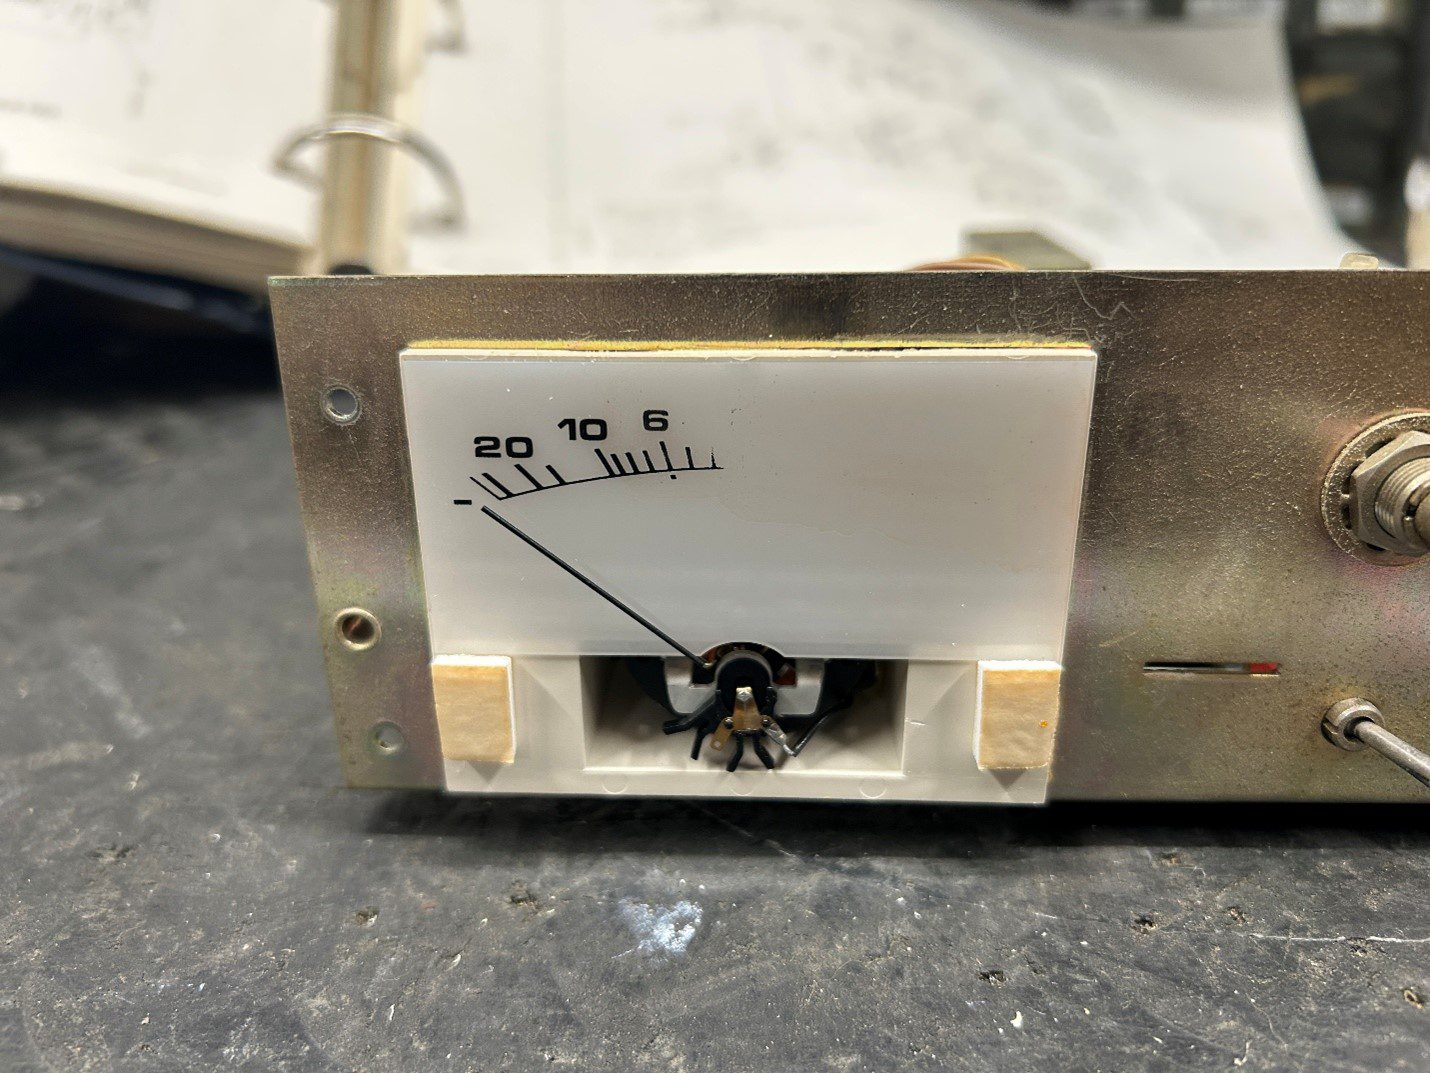
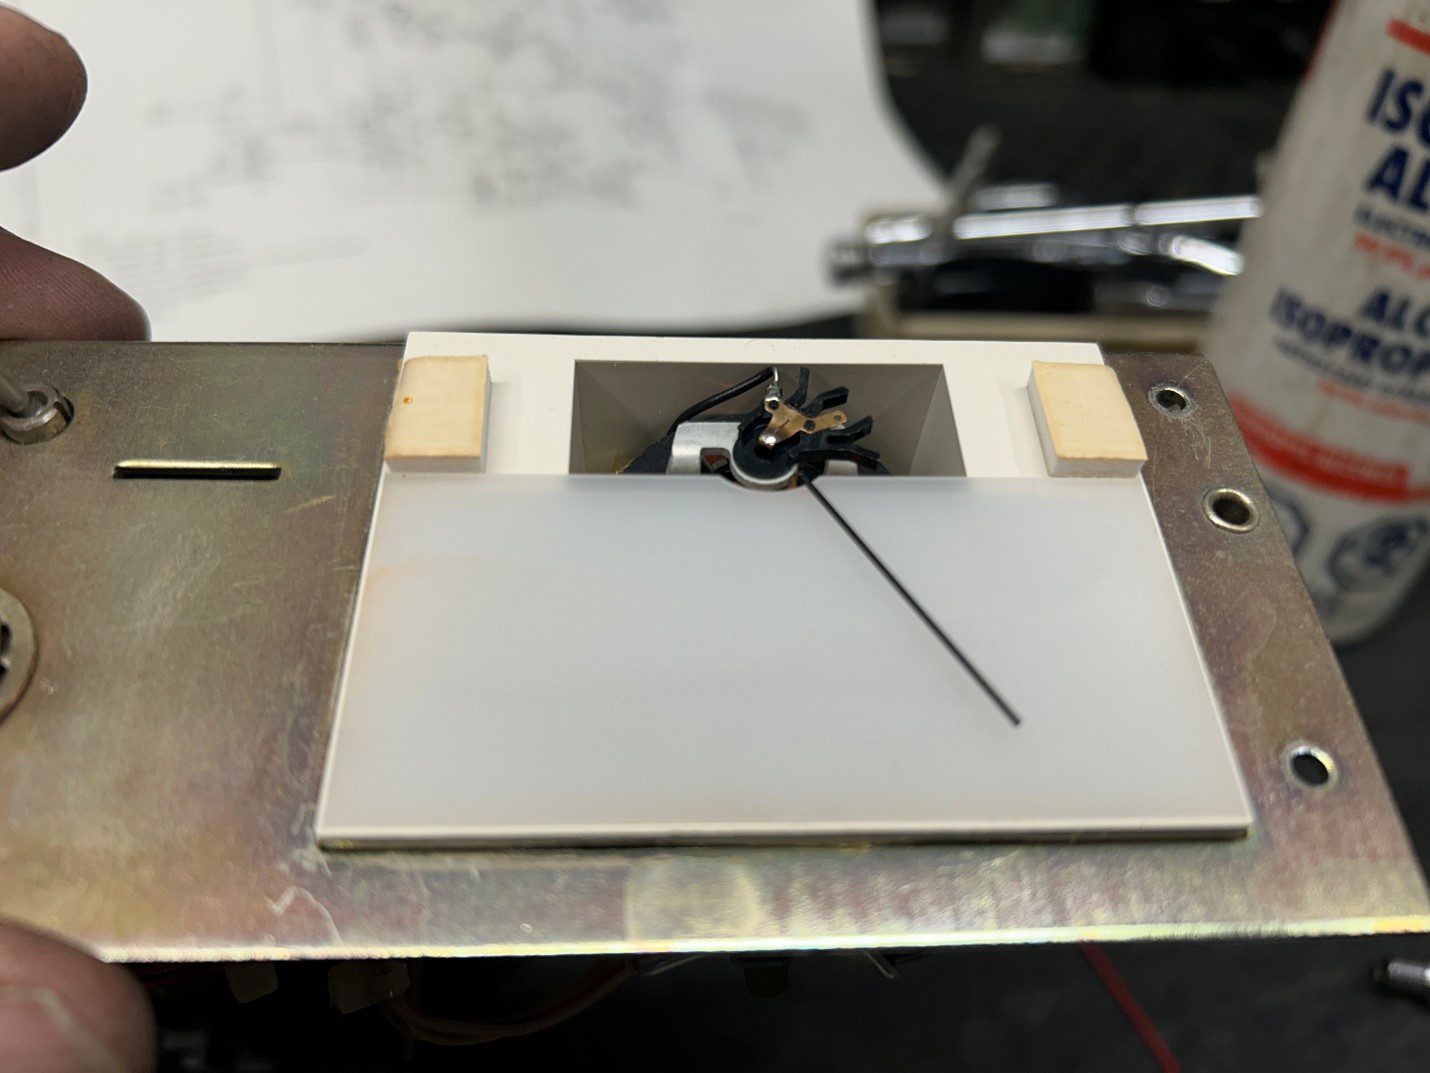
Continue to use more clean swabs until all of the ink is removed, and any trace of old ink has been taken off the meter face. If a trail of ink is wiped across the meter due to the swab being full of ink, don’t panic, it will wipe off with a clean swab.
9) Without taking the backing of the new sticker off, slide it behind the meter needle. There’s a good chance that the sticker will be a hair too wide, and will stick over the edge of the white/semi opague meter face. If so, trim it down with a pair of scissors.
10) Remove the backing of the sticker, exposing the adhesive side, and spray the adhesive down with a light water spray. This will allow you to position the new meter scale exactly where you want it to sit on the meter face. You have a few minutes to adjust the sticker on the VU meter face before the water evaporates.
11) You can allow water behind the sticker to dry at this point, and if you’re doing more than one meter face, start on the second one, so that you can position and align the new stickers exactly to match on the VU meter.
12) Snap the meter cover back onto the front of the meter.
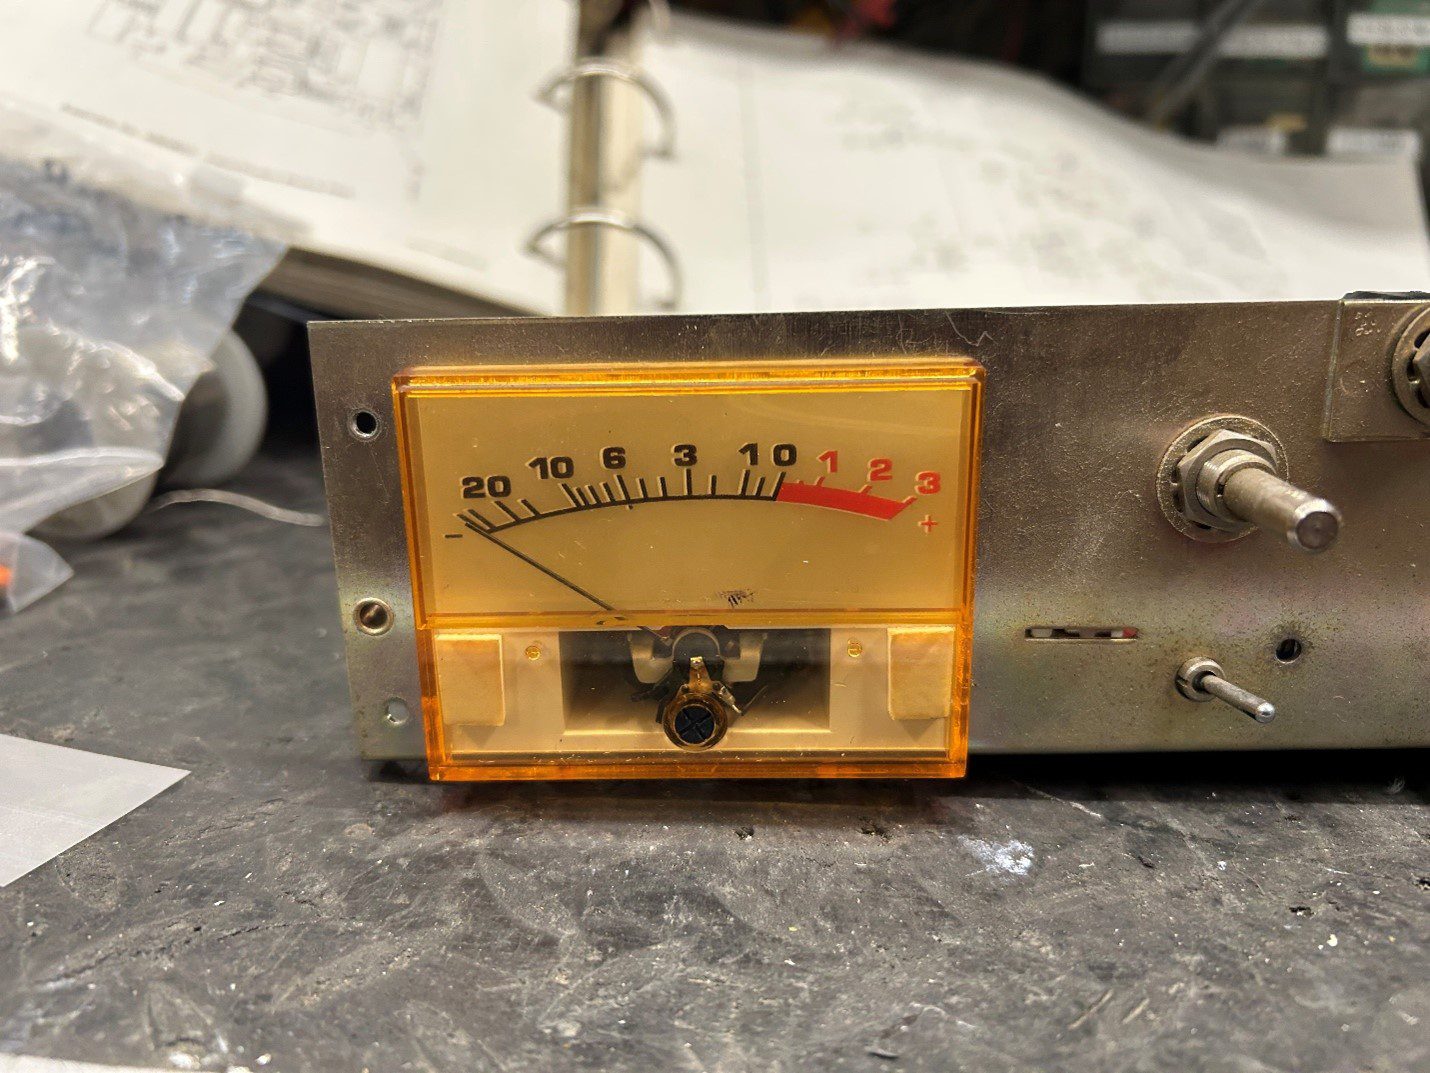
Make sure that the meter face doesn’t catch one edge of the sticker. If the new sticker sits up off the meter face, the meter needle’s movement will be restricted, and the meter needle may stick.
13) Reassemble the meter front face plate and knobs by reversing the process of the disassembly.
14) Slide the VU meter units back into the VU meter chassis, tighten down the retaining bolt, and get back to recording.